
Performing a screenshot or a print screen on your PC is a vital skill nowadays with our increased reliance on computers for online school and work-from-home arrangements. Understandably, not everyone knows how to do it. So in this article, we’re here to show you how to do a screenshot on your Windows PC.
A screenshot (also known as a screengrab, screen capture, or print screen) is a snapshot or digital image of whatever is on your display, be it a PC, tablet, or mobile phone. The resulting image is then saved locally on your computer.
Being able to do a screenshot is a basic skill in today’s digital world. Be it for school, office work, or personal reasons, knowing how to do this quickly will save you time and money.
This tutorial is for those new to using computers, such as young students and maybe even working professionals. There are different methods you can use, but here, we listed the easiest ways to do it.
How to do a screenshot on your PC
There are multiple ways to do a screenshot on your Windows PC. Here, we’re tackling the quickest and easiest ways to do it.
The fastest method to do a screenshot is by pressing the print screen (Prt Scn) key on your laptop or computer keyboard. This takes a screenshot of the whole screen. The method will send an image to your clipboard, which you can then easily paste (Ctrl+v) to your Word documents or PowerPoint presentations.
Alternatively, pressing alt + Prt Scn will take a screenshot of your active window.
Take note that other machines may have different shortcut keystrokes. In some cases, you may need to press Alt+Fn+Prt Scn.
You might also like How to improve your safety and security online
Another method is by pressing the Windows key + Prt Scn keys. In some laptops, the screen will briefly flash to indicate that it has taken a screenshot. Here, a PNG image file will be saved in your Pictures folder under Screenshots, for later use.
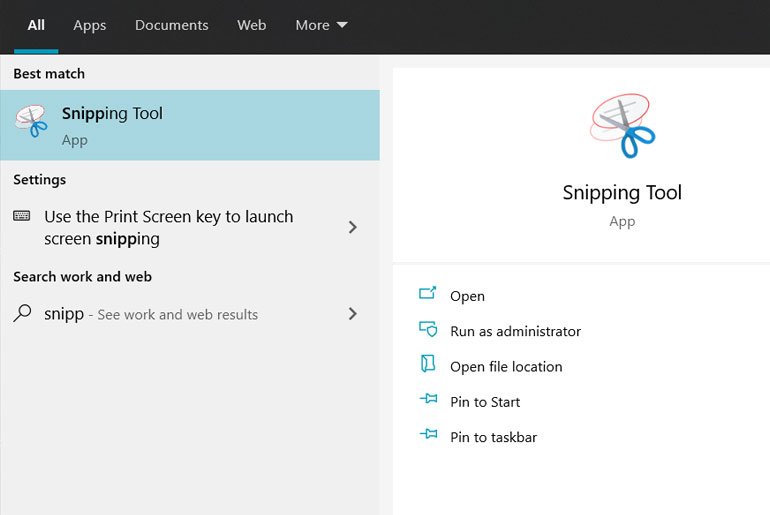
Snipping Tool
Windows also has a built-in application for screenshots called the Snipping Tool. It’s an old program but it’s quick and easy to use. Personally, this is my preferred method of taking screenshots.
The Snipping Tool app has different snipping modes — Freeform, Rectangular, Window, and Full-screen. After using any of the modes, you can save the screenshot on your PC or you can paste it immediately on your document.
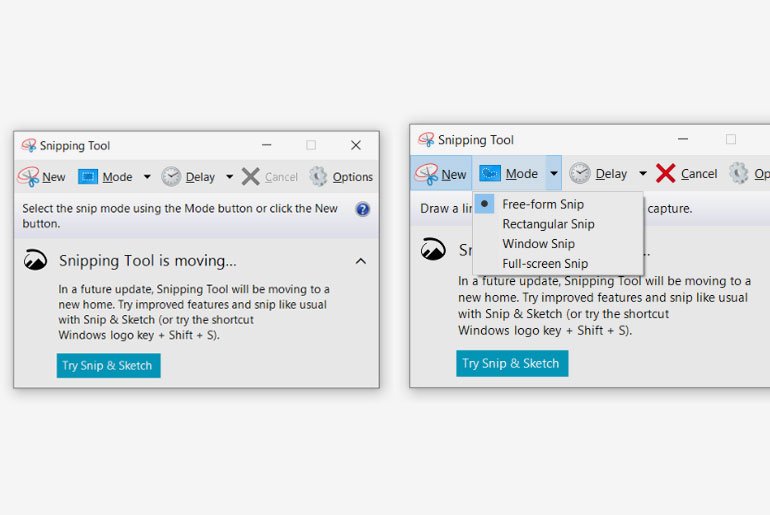
In Freeform Snip, you can select what you are going to screenshot. To use, click New, then click and hold the left mouse key and draw a shape around the subject. Release to take the screenshot.
Rectangular Snip is the most useful of the modes. It is the same as Freeform, but you’ll be using a square or rectangular selection window to select a part of the screen to screenshot.
Window Snip takes a screenshot of the active window. And Full-screen snip takes a screenshot of the whole screen.
Snip & Sketch
Alternatively, some Windows computers have the Snip & Sketch app, which offers the same functionality as the Snipping Tool. You can also quickly access it by pressing the Windows key + Shift + S without opening the app.
Doing so will open an overlay window with the screenshot controls at the top. Just click and drag the rectangular shape over your subject and it will generate a screenshot.
Web Capture on the Edge Browser
If you’re using Microsoft’s Edge Browser, it has a feature that allows users to quickly screen capture or print screen whatever’s on display called Web Capture. It’s quick and easy to use since it’s baked right into the browser itself.
To access it, just right-click on an empty area on the browser and choose Web Capture. Alternatively, you can also use the keyboard shortcut Ctrl + Shift + S to activate it.
You’ll know it’s active once you have a dark translucent overlay over your browser tab. You have two options on how to go about it: Free Select or Full Page.
In Free Select, you can choose the area you like to screenshot. With your mouse, just right-click, hold and then drag the cursor around the part you will screenshot. When you release the mouse button, you can copy (and then just paste it on your document or wherever) and Add Notes where you can draw or write on the image before you can save it.


")