
The Philippine government recently launched the eGov PH Super App, a mobile application that integrates multiple national and local government agencies into an all-in-one platform. Unveiled on Friday, the app aims to streamline service delivery and enhance convenience for citizens.
The eGov PH Super App comes with an array of features designed to simplify access to government services.
Some notable functionalities include digitalized government-issued IDs (such as the national ID and driver’s license), SIM card registration, unified travel declaration forms for outbound and inbound travelers, an eVisa portal for tourists, CV creation and job searching, direct filing of complaints and feedback to government agencies, and more.
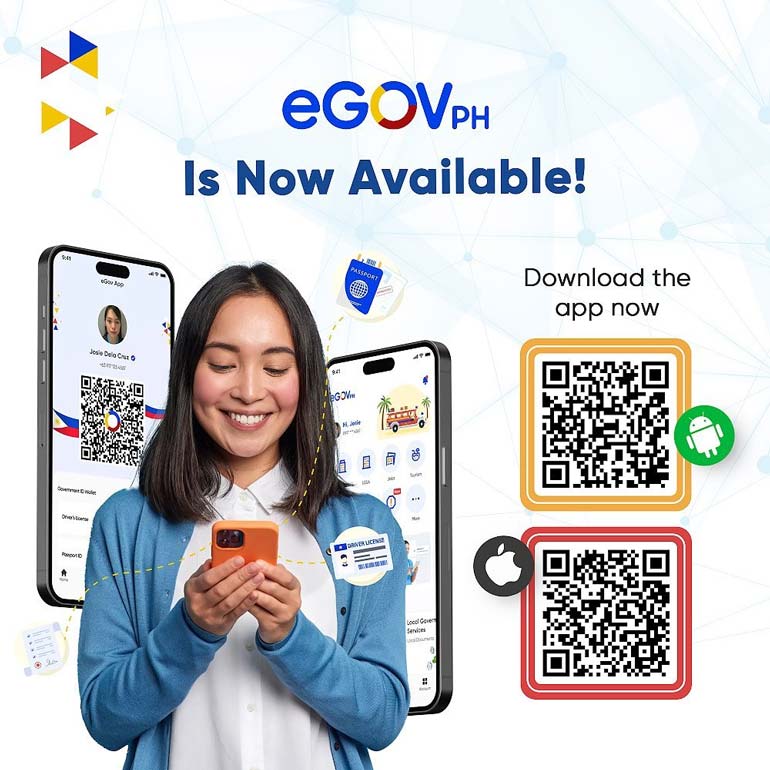
The eGov PH Super App is now available for download for free at the Google Play Store and Apple App Store. The app supports English, Tagalog, Cebuano, and Ilocano.
How to create an account on the eGov PH Super App
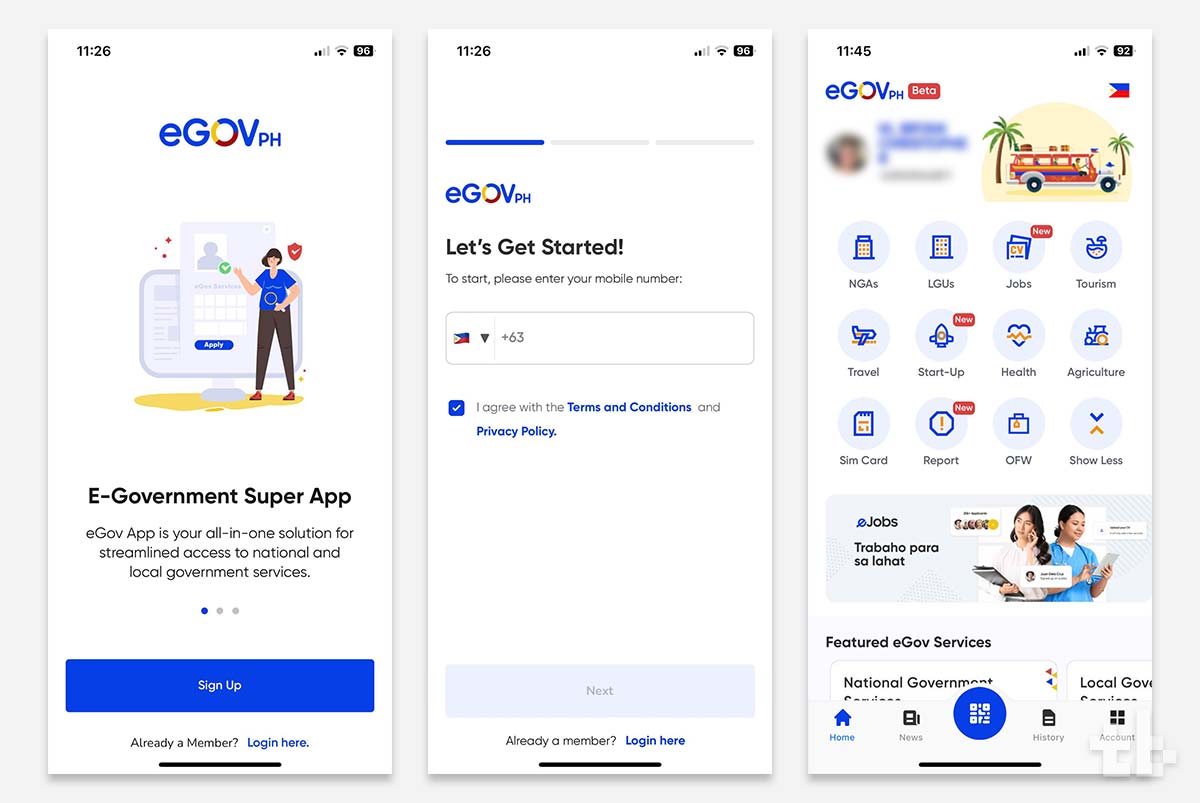
We gave the eGov PH Super App a try so you don’t have to (at least not yet). At the time of writing, the app is in beta, which means there could still be bugs and other issues in the system. Nevertheless, here is our experience in creating an account on the eGov PH Super App.
- To start, download the app from the Play Store or the App Store. You can scan the QR codes on the image above to ensure you get the right app.
- Open the app and create an account.
- Enter your mobile number. Make sure the number you enter is accessible because that’s where they will send the one-time password (OTP). In our case, it took two tries before we received the OTP.
- After entering the OTP, you will be prompted to create a 6-digit MPIN. Make sure to remember or to write this down so you don’t forget.
- Once you’re inside the app, you need to verify your account. You can enter your details or you can scan your PhilSys QR (which is what we did). Verify your details and proceed to the next step.
- Take a live selfie. Take note of the instructions. You will also need to take right-side and left-side selfies.
- You can also add copies of government IDs, such as a Driver’s License, Passport, PhilSys ID, NBI Clearance, and more. It will use the camera to take a photo of the ID you want to add.
Also read: DICT to launch “Project: SIM Check Mo” to combat cybercrime
And that’s it. Overall, the process of creating an account is fairly simple without much issue. Hopefully, they improve the OTP part of the process because that’s where the whole process starts.


